
Home / Treatments / Liposuction / Process
Body · Process
Liposuction – the process step by step
From planning the areas to the compression garments: this is how liposuction with tumescent and vibration technique typically proceeds.
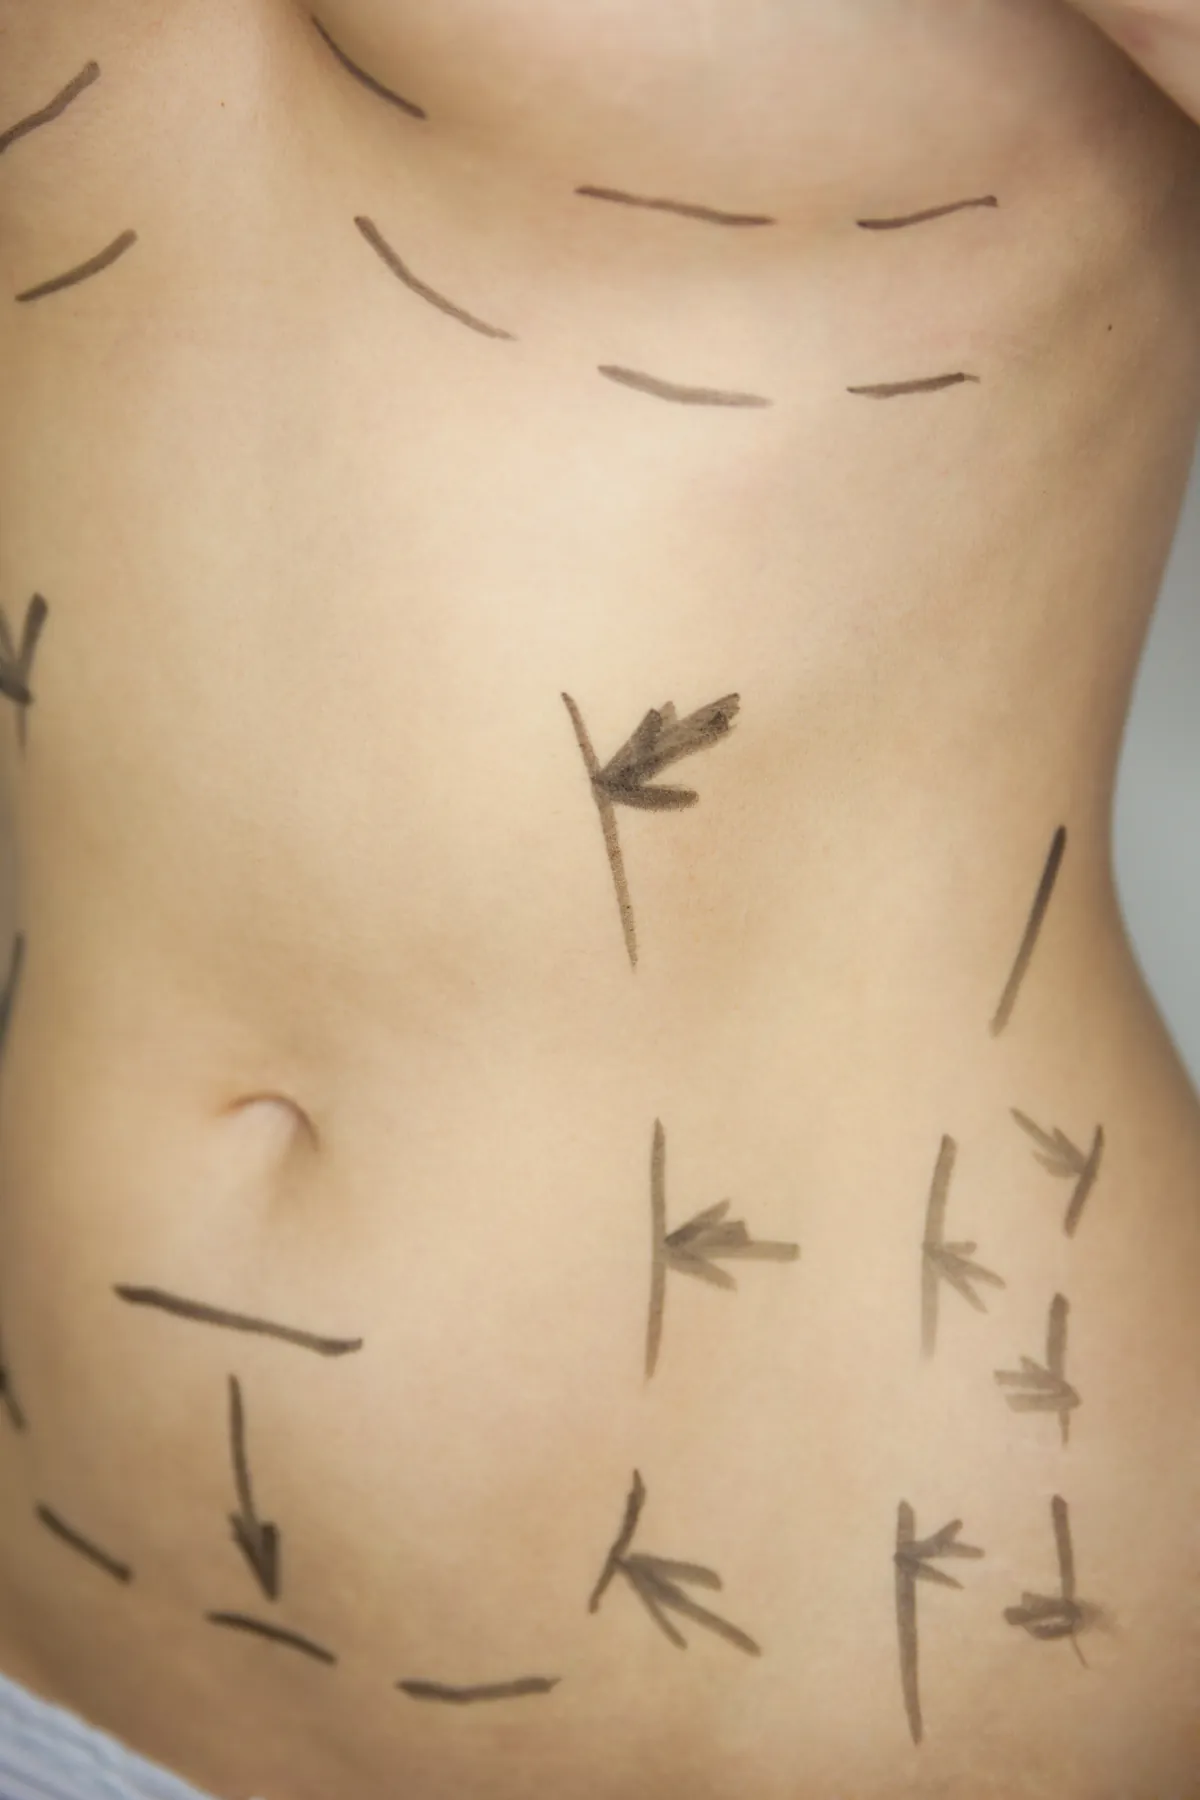
Liposuction is carefully planned: the key is to remove only as much fat as is necessary for a harmonious silhouette. This is how the procedure typically proceeds.
The process at a glance
- 01a few weeks beforehandPreparation
Defining the areas, assessing skin elasticity, preliminary examinations and informed consent.
- 02Day of surgerySurgery
General anesthesia with tumescent local anesthesia; suction through small access points with vibration technique.
- 03Weeks to monthsAftercare
Compression garments, check-ups, lymphatic drainage if necessary.
What happens during surgery
Phase 1: Preparation
- Consultation Which areas bother you? I assess fat distribution, skin elasticity and weight.
- Differentiation Is it an aesthetic fat distribution or lipedema? The approach and the question of costs depend on this.
- Preliminary examinations and informed consent Lab tests as needed; detailed informed consent with time to think it over.
- Compression garments Fitted in advance so that they are ready immediately after the procedure.
- Organization Plan for someone to accompany you home and a few days of rest.
Phase 2: The day of surgery
- Marking while standing The treatment areas are marked.
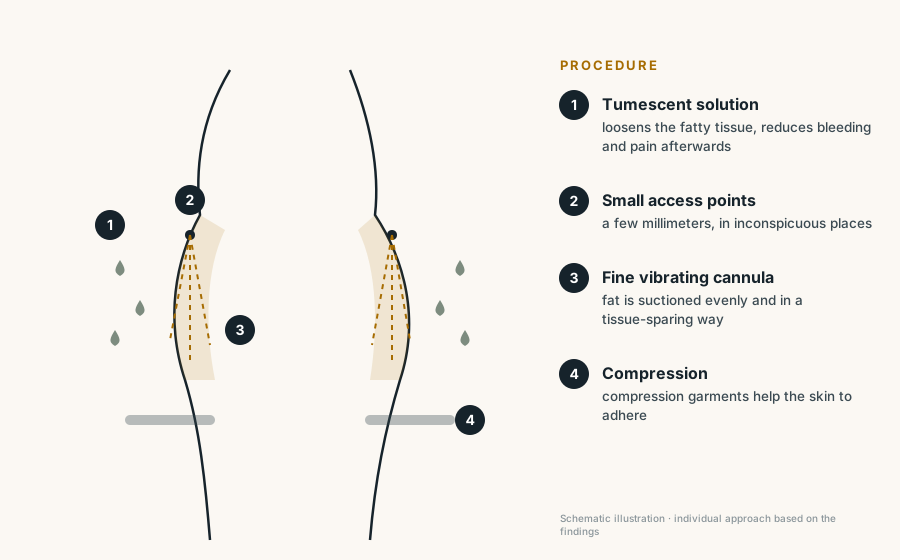
- Anesthesia and tumescence General anesthesia combined with tumescent local anesthesia – the solution loosens the fatty tissue and reduces bleeding and pain afterwards.
- Suction Through a few very small access points, the fat is suctioned gently with fine cannulas and vibration technique.
- Compression The compression garments are put on immediately afterwards.
- Going home The procedure is often performed on an outpatient basis; liposuction of up to 6 liters is mostly performed on an outpatient basis.
Phase 3: Aftercare and healing
- Day 1–3Feeling similar to sore muscles, swelling; tumescent solution may leak from the access points
- Week 1Compression day and night; light movement promotes healing
- Week 2–4Swelling subsides; office work usually possible again
- Week 4–6Reduce compression as agreed; gradually resume sports
- Month 3–6the skin has settled – the new contour is visible
Contact us immediately in case of severe pain, fever, shortness of breath, a leg swollen on one side or redness around an access point.
Your checklist
- Have compression garments fitted in advance
- Absorbent pads for the first nights
- Someone to accompany you home
- Drink plenty of fluids and move lightly in the first few days
Areas, technique, risks and questions